
Would be cool 'for the kids' to have a climbing/bouldering wall... (Or actually, I wanted one too). We hadd been thinking about how to make the blind wall we had in our garden a bit nicer. Plants wouldn't look too nice in winter, wasn't ideal too. So, a climbing wall perhaps?
But, of course, nothing standard, I had to be different once again of course. So, the idea turned into: a multifunctional wall, with a boulder wall that can be converted into a wall for plants and back. And who know what else we can do there. As I'm typing this, could make a bar or countertop there as well, maybe that's a next project.
So how do we make that? Well, french cleats are pretty versatile. Make some panels with holes for the climbing holds, hung with french cleats so they can be removed if needed. Same for some planters. If we want to change where to climb, swap out the whole panel. Force to climb sideways in a route: just remove the bottom panels. Kids too young coming to play: remove some panels to match their level (so remove the top row or bottom row or keep only the bottom row, anything goes)
The first design was then
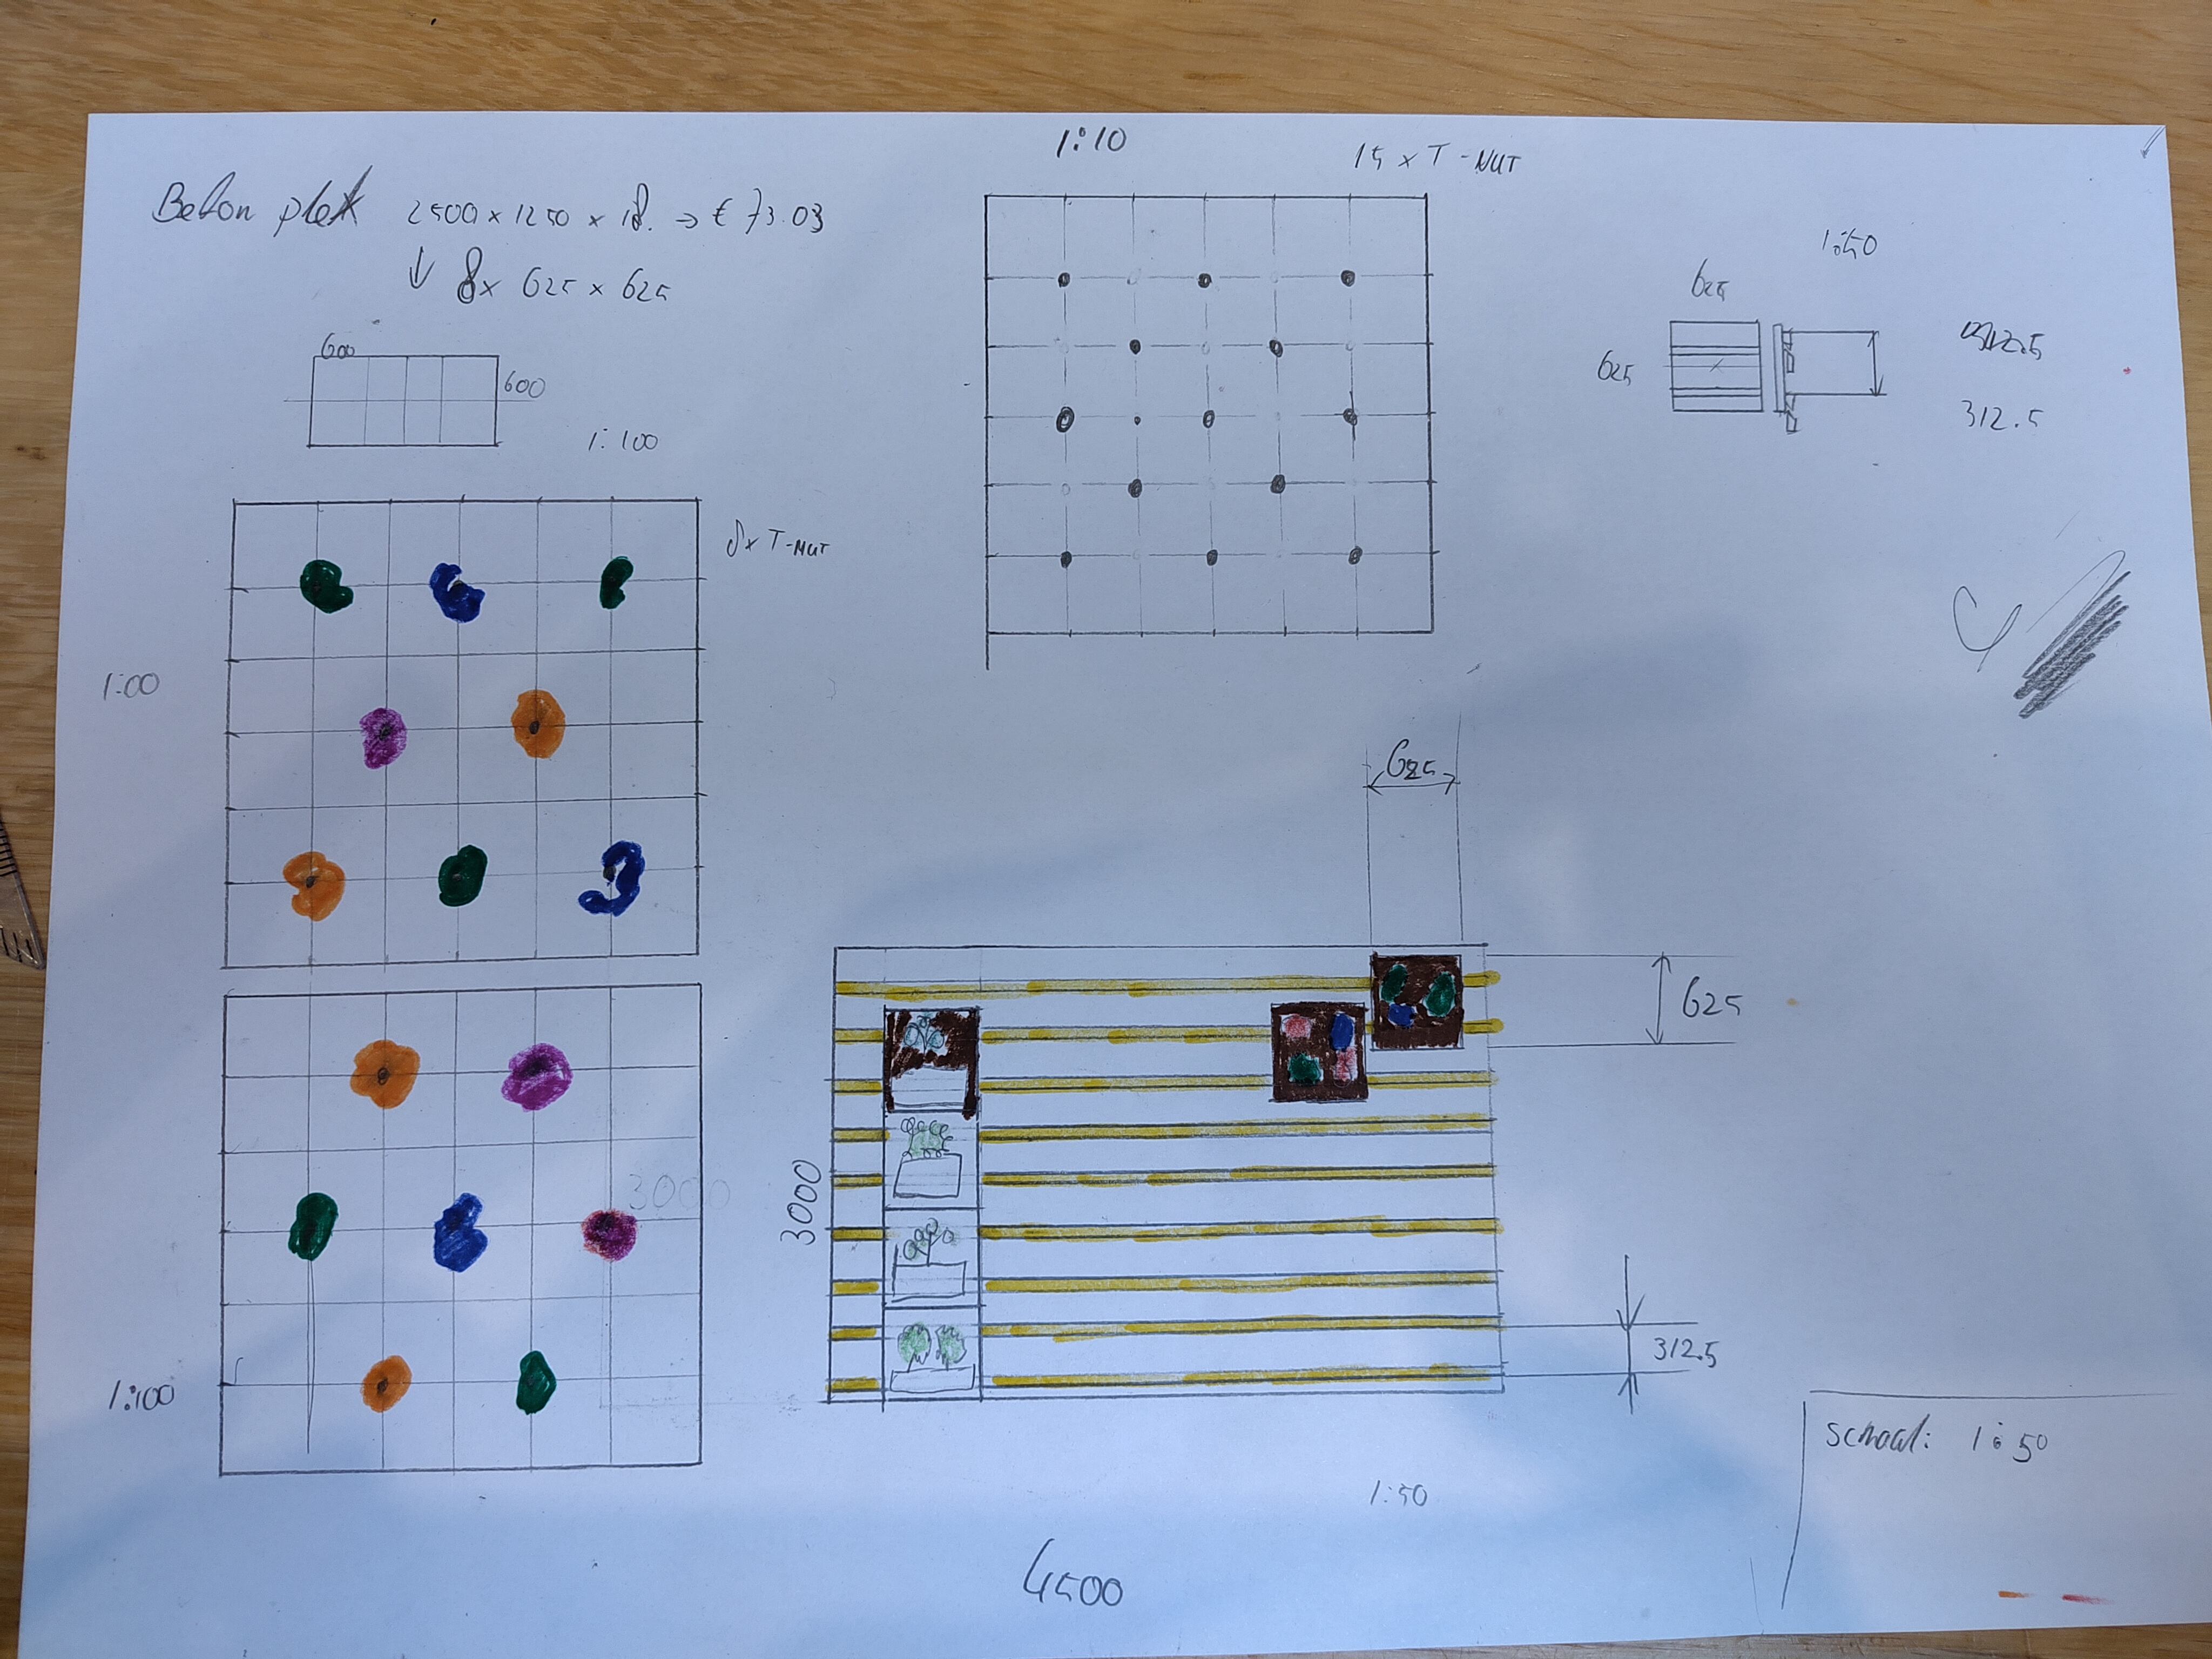
To really sell this to the big decisionmaker here (and to more easily try out different spacings of the holes, cleats, panel sizes etc.) I put this in OnShape
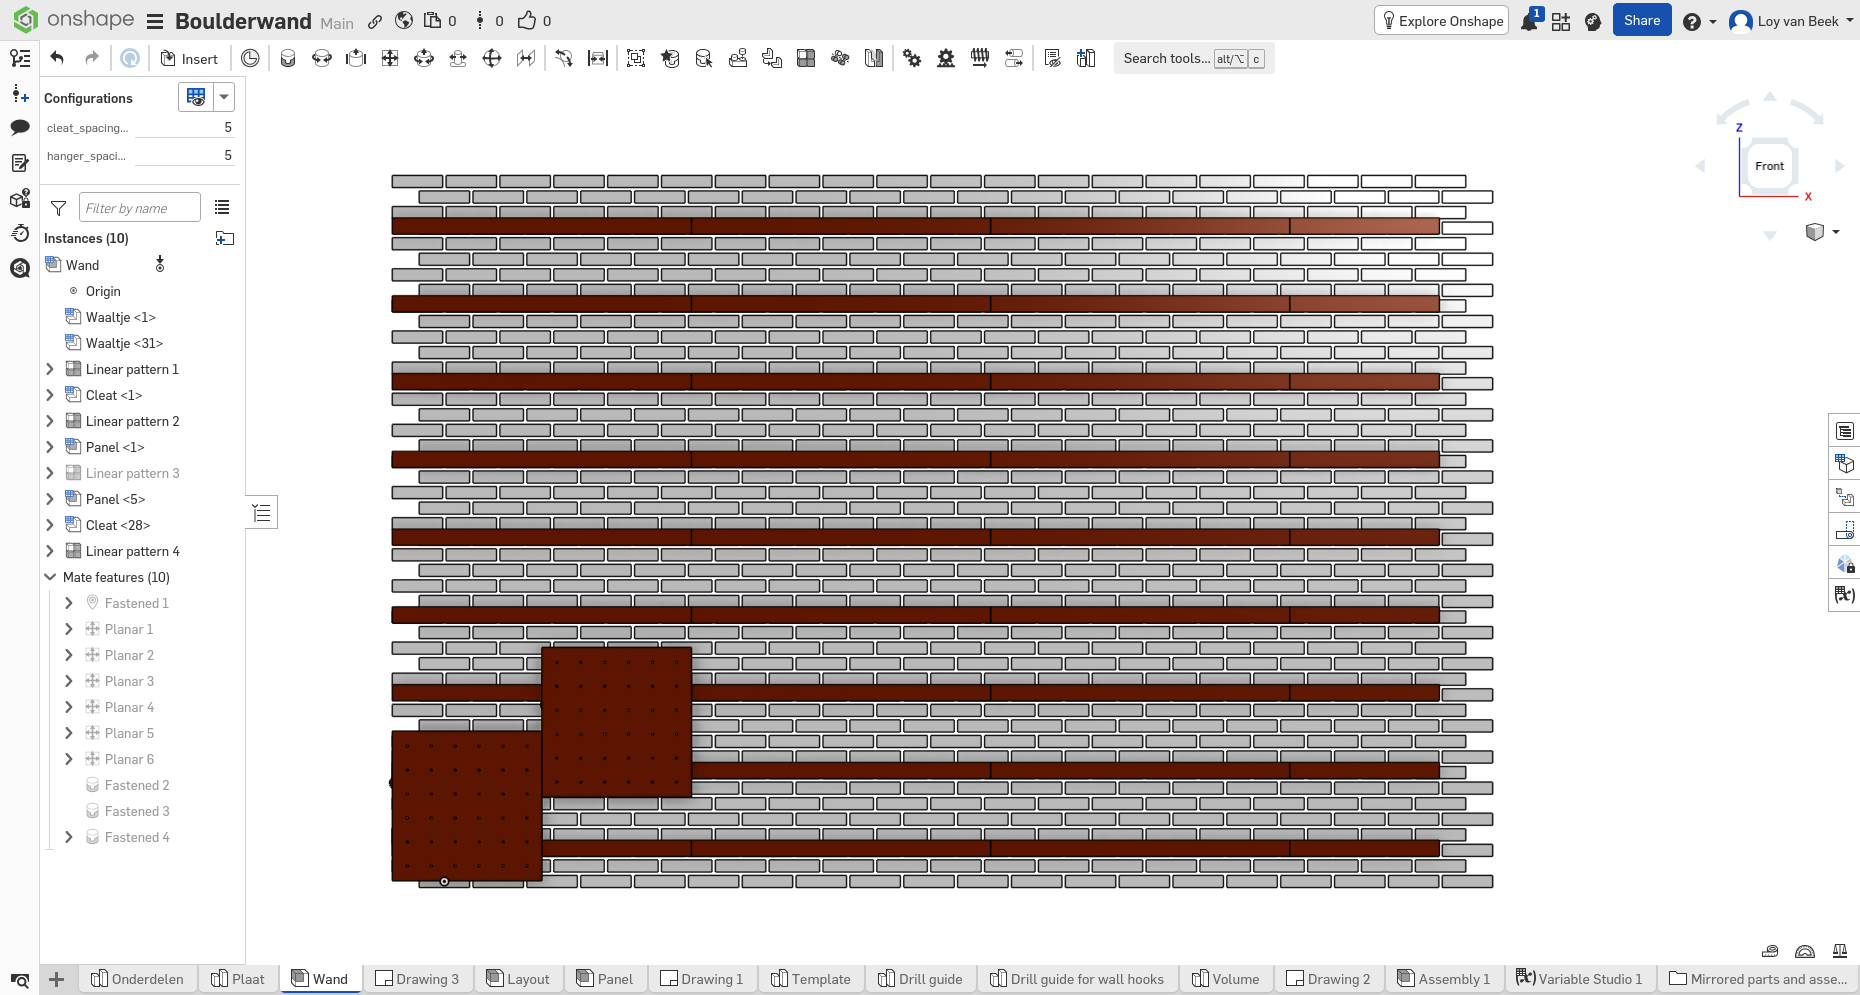
Once everything was decided and sized to only drill holes in the centers of the bricks and not in the mortar of the joints between them, it was time to get the wood (18mm 'Betonplex' weather proof stuff) and get cracking. I did not take any pictures apparently of sawing the panels and drilling a gazillion holes and then painting all ~600 with edge sealer. That took a while.
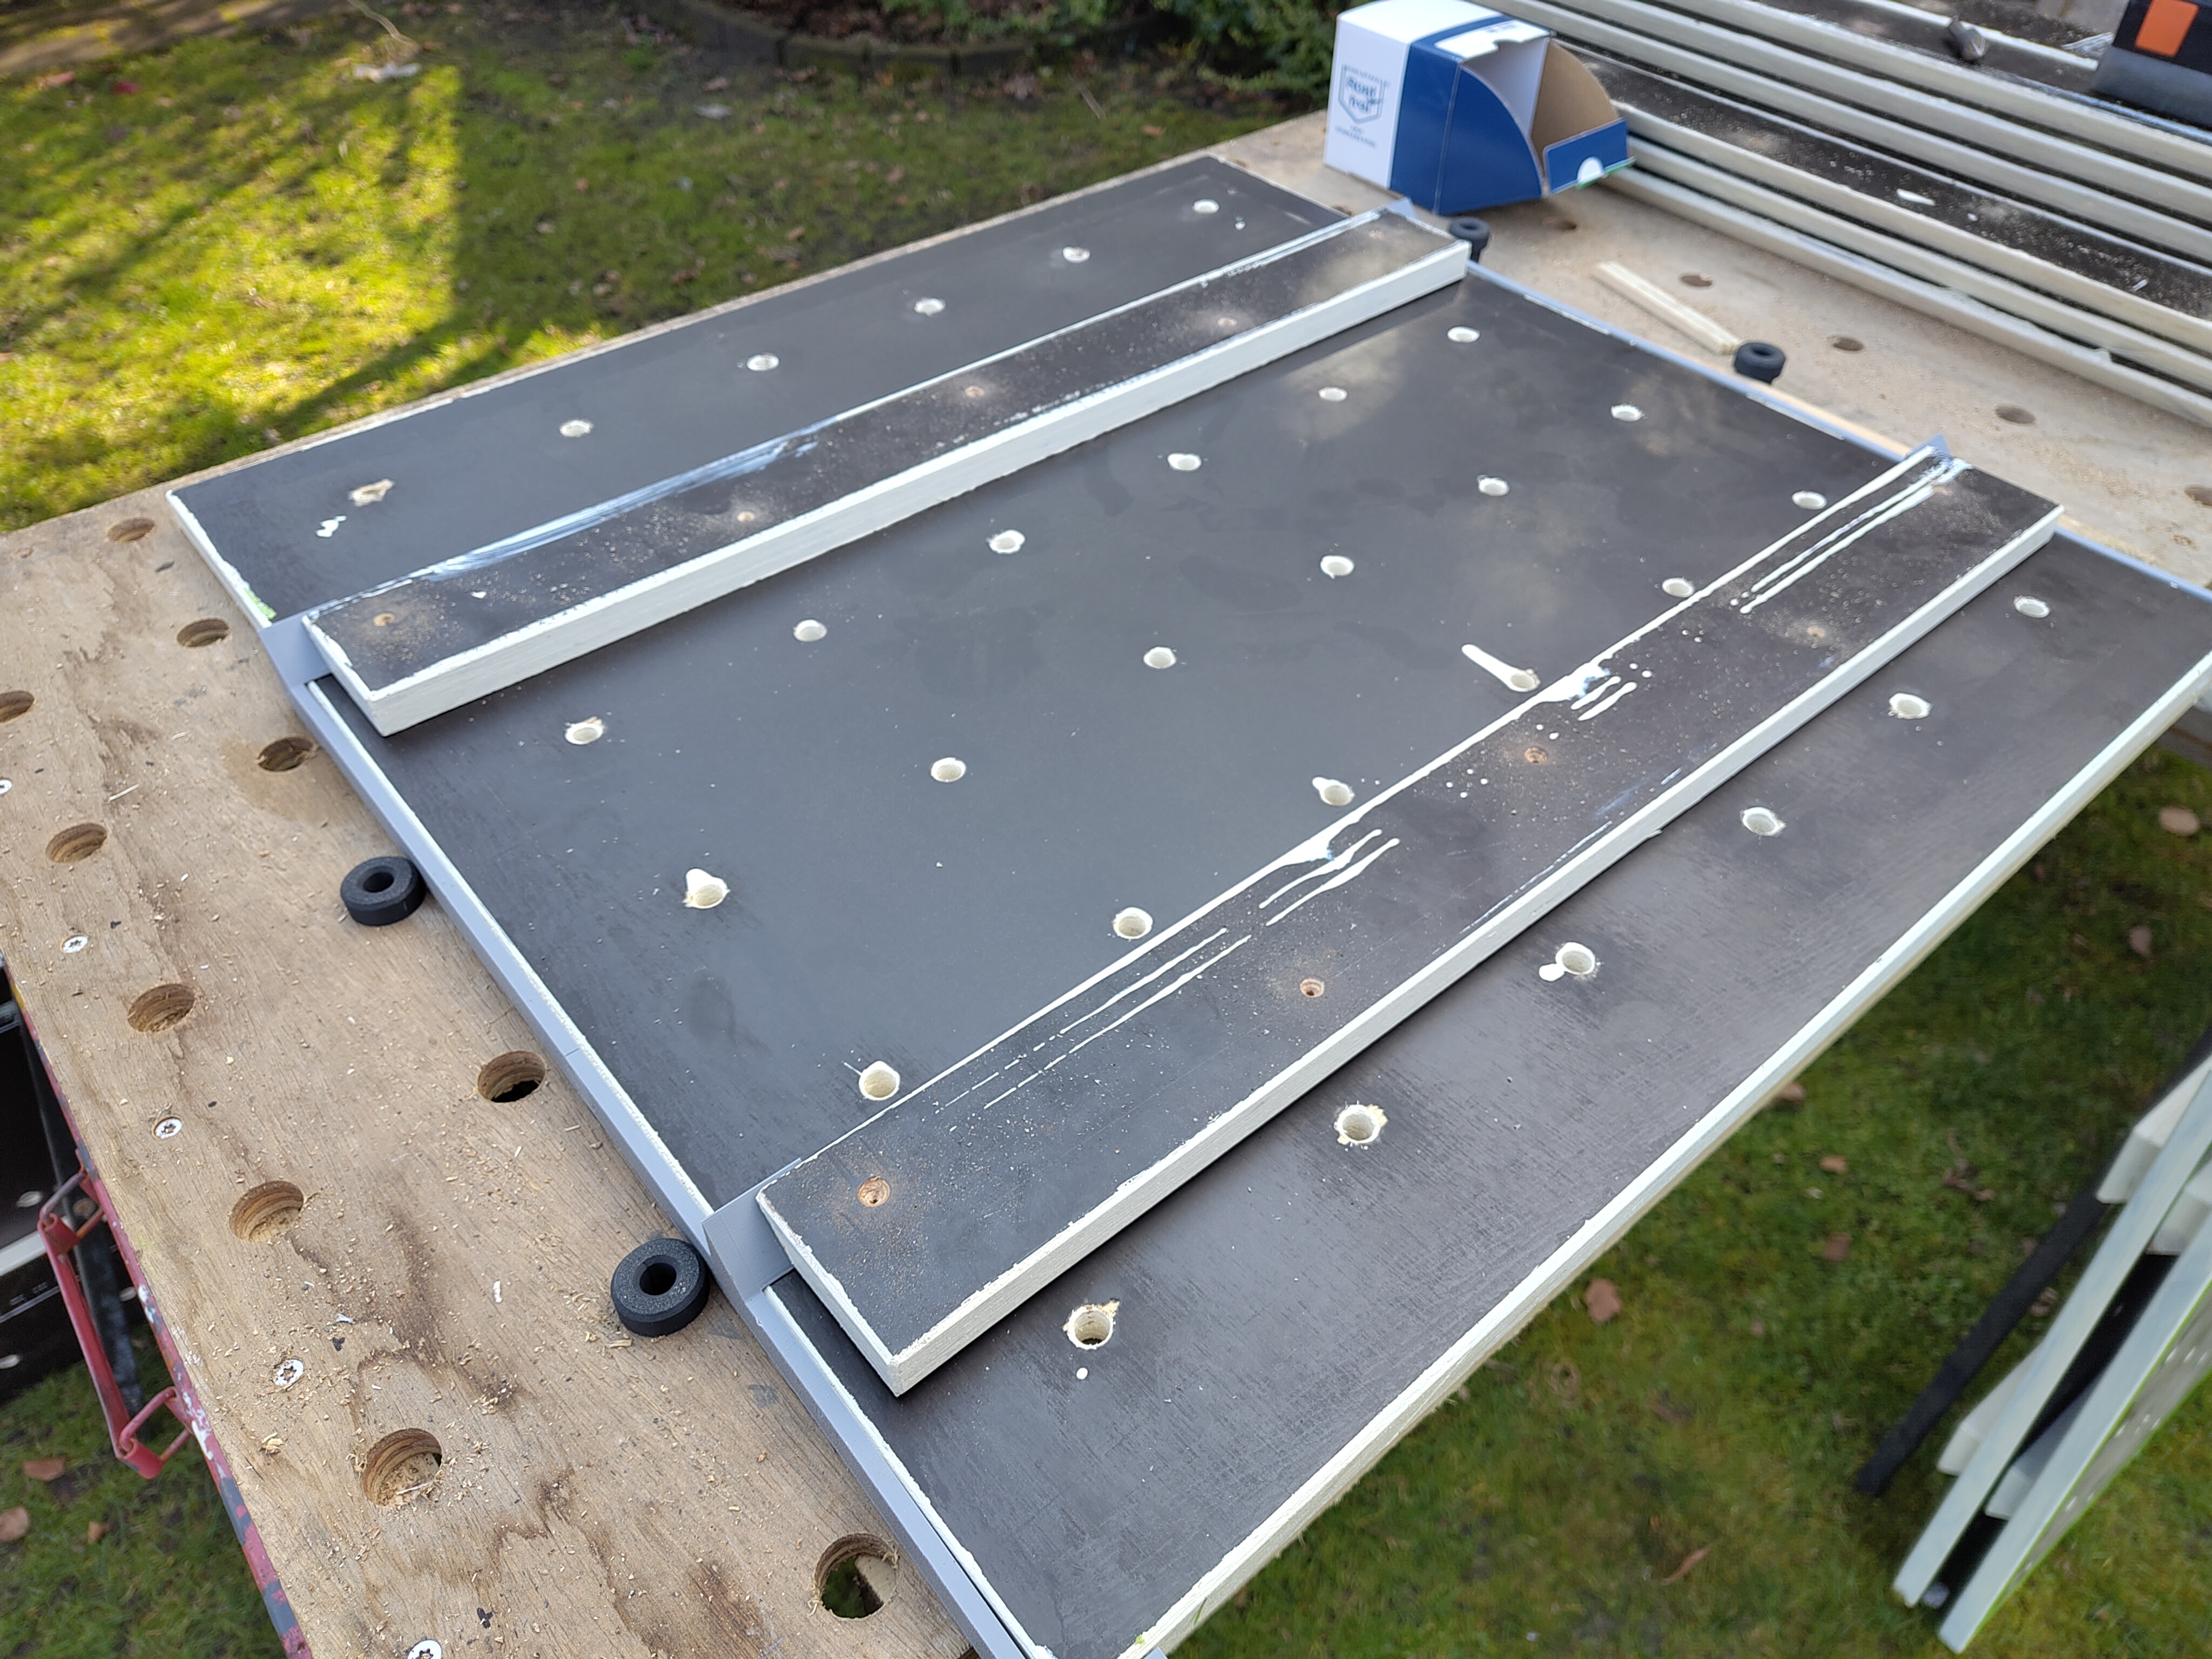
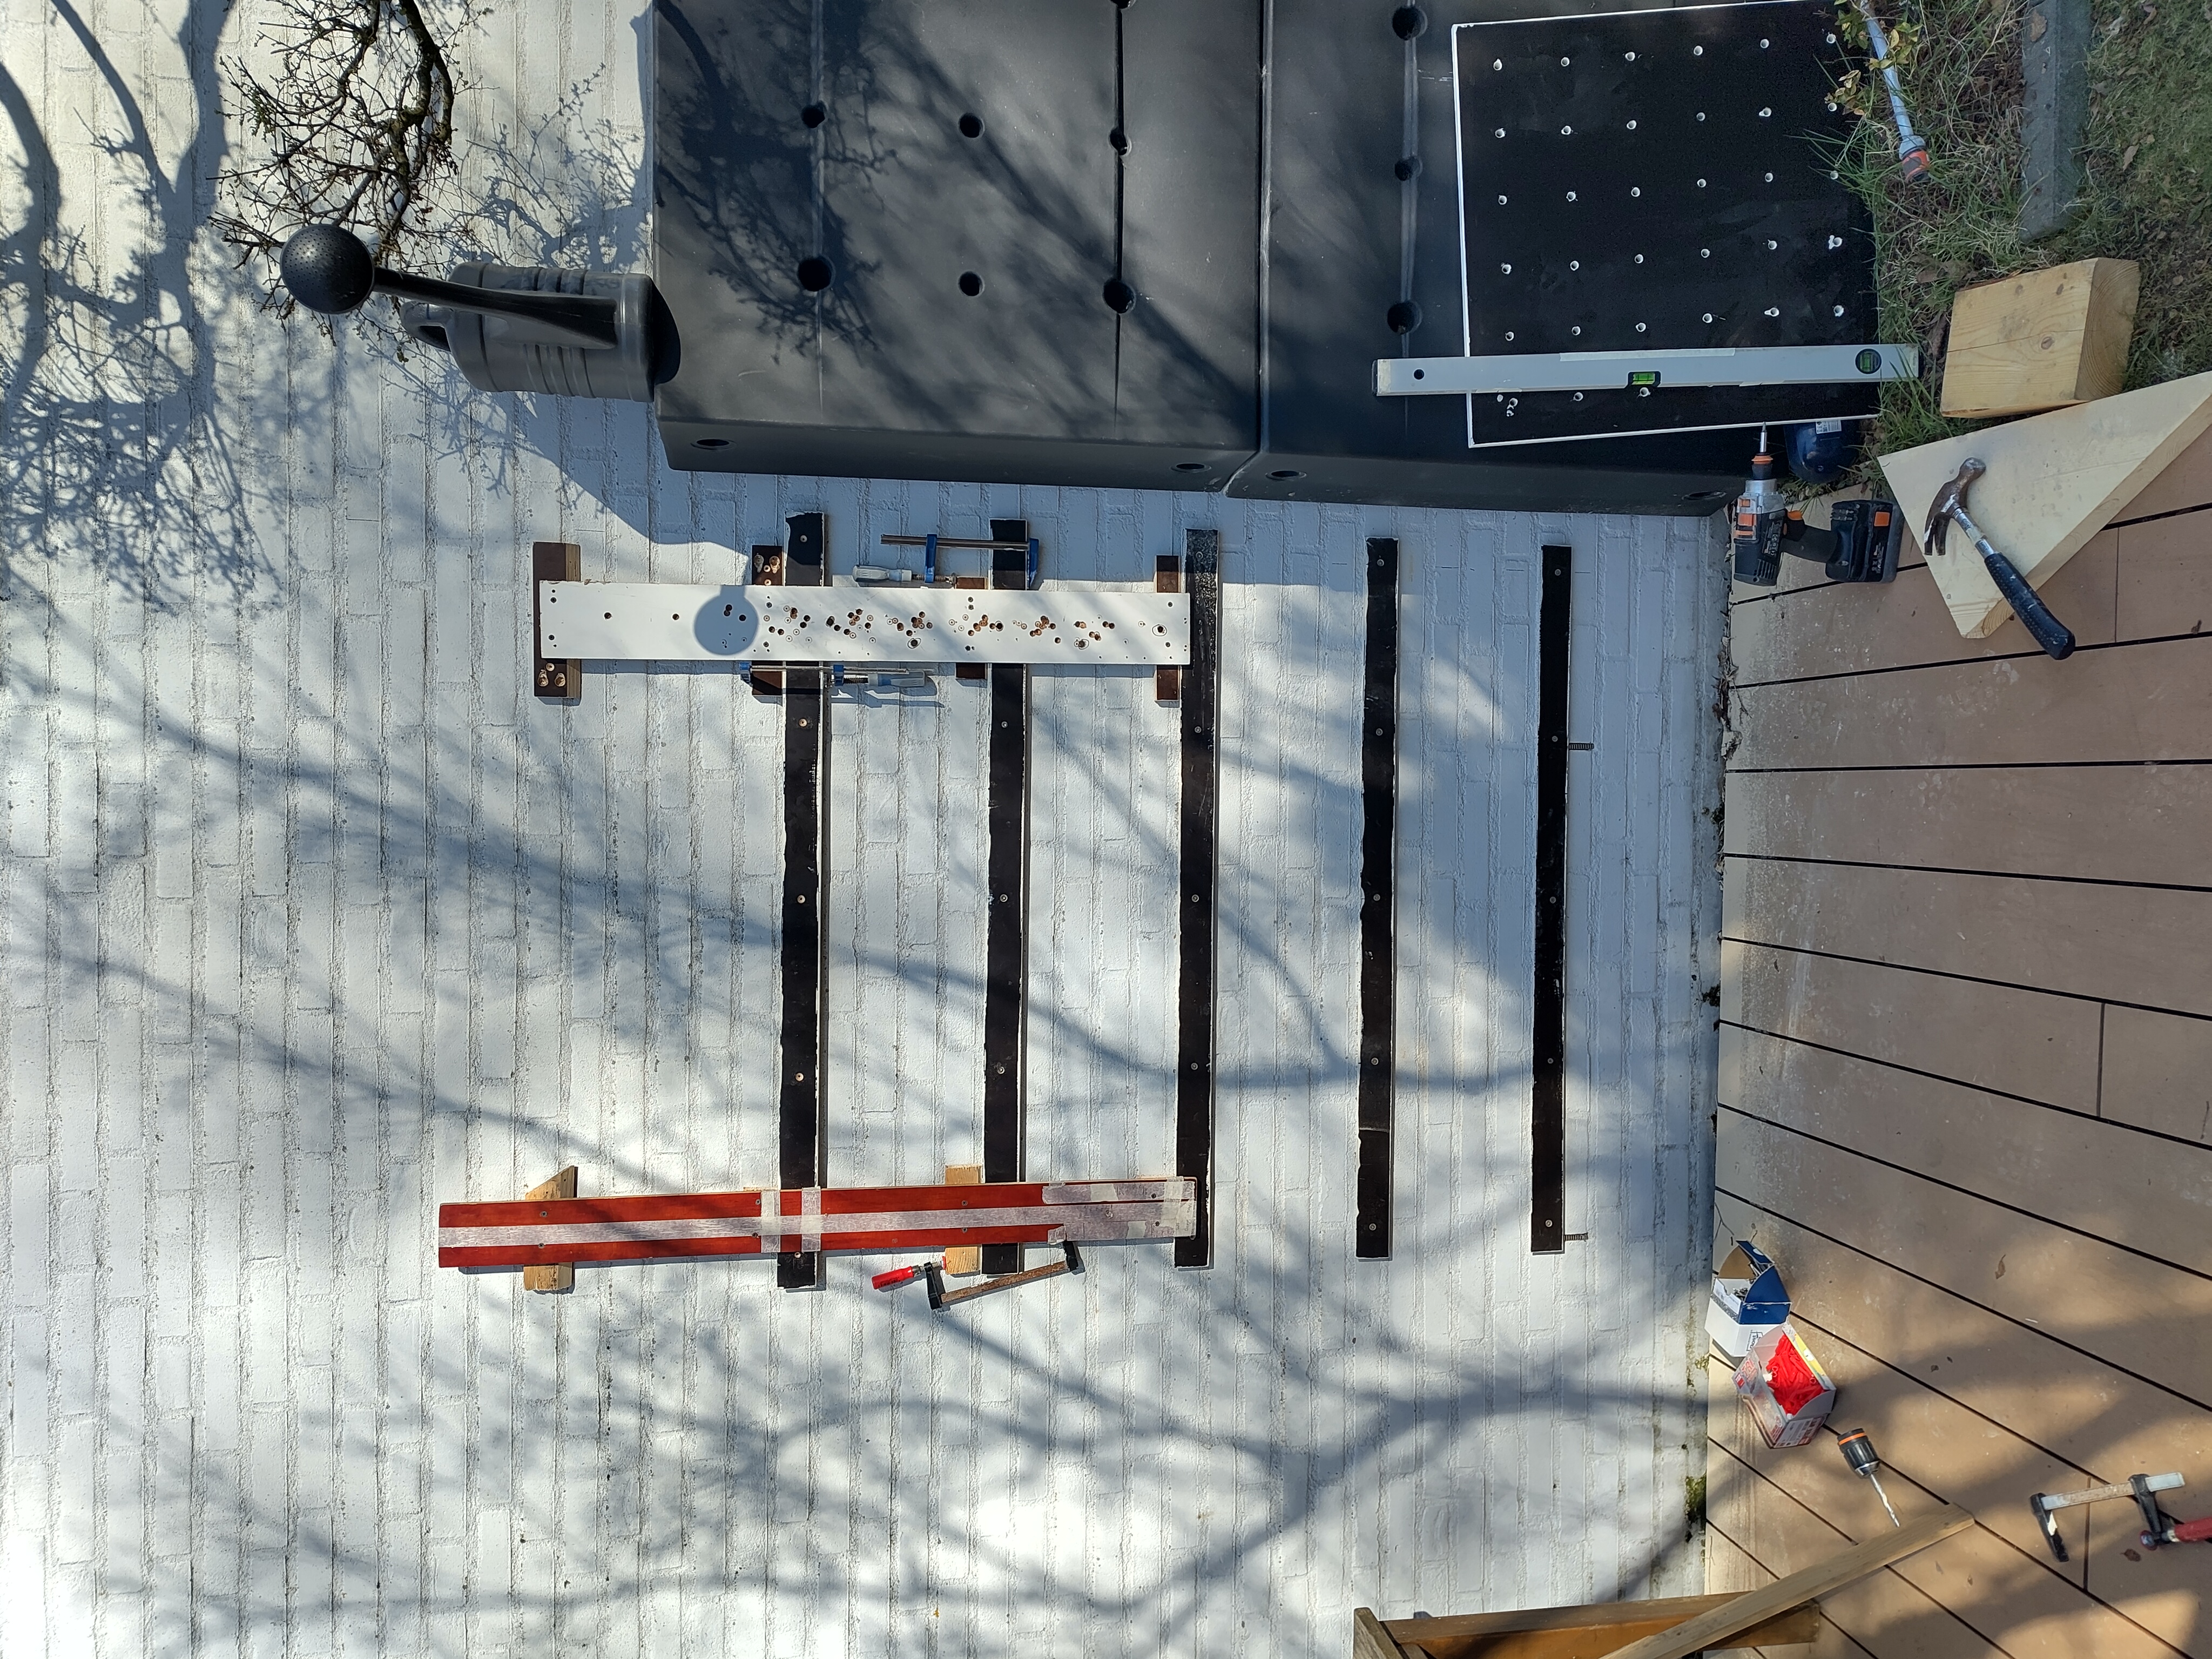
Next step was to saw the french cleats, edge seal them too and mount them on the wall and the panels.
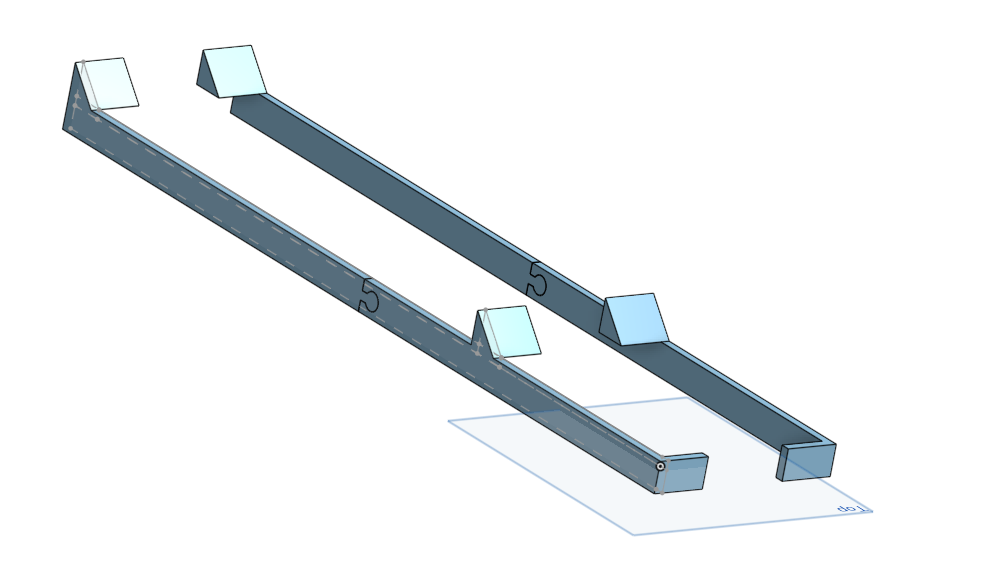
To get the spacing from the top right and consistent, I printed a handy too that I could reference to the top of a panel, place the slat on a stop and screw it down.
3D printing is very handy for that kind of thing.
But then, finally comes the time to mount stuff to the wall for real. Getting the spacing consistent is important of course, so I made some spacers and didn't measure anything.
And then we could hang the first panels!
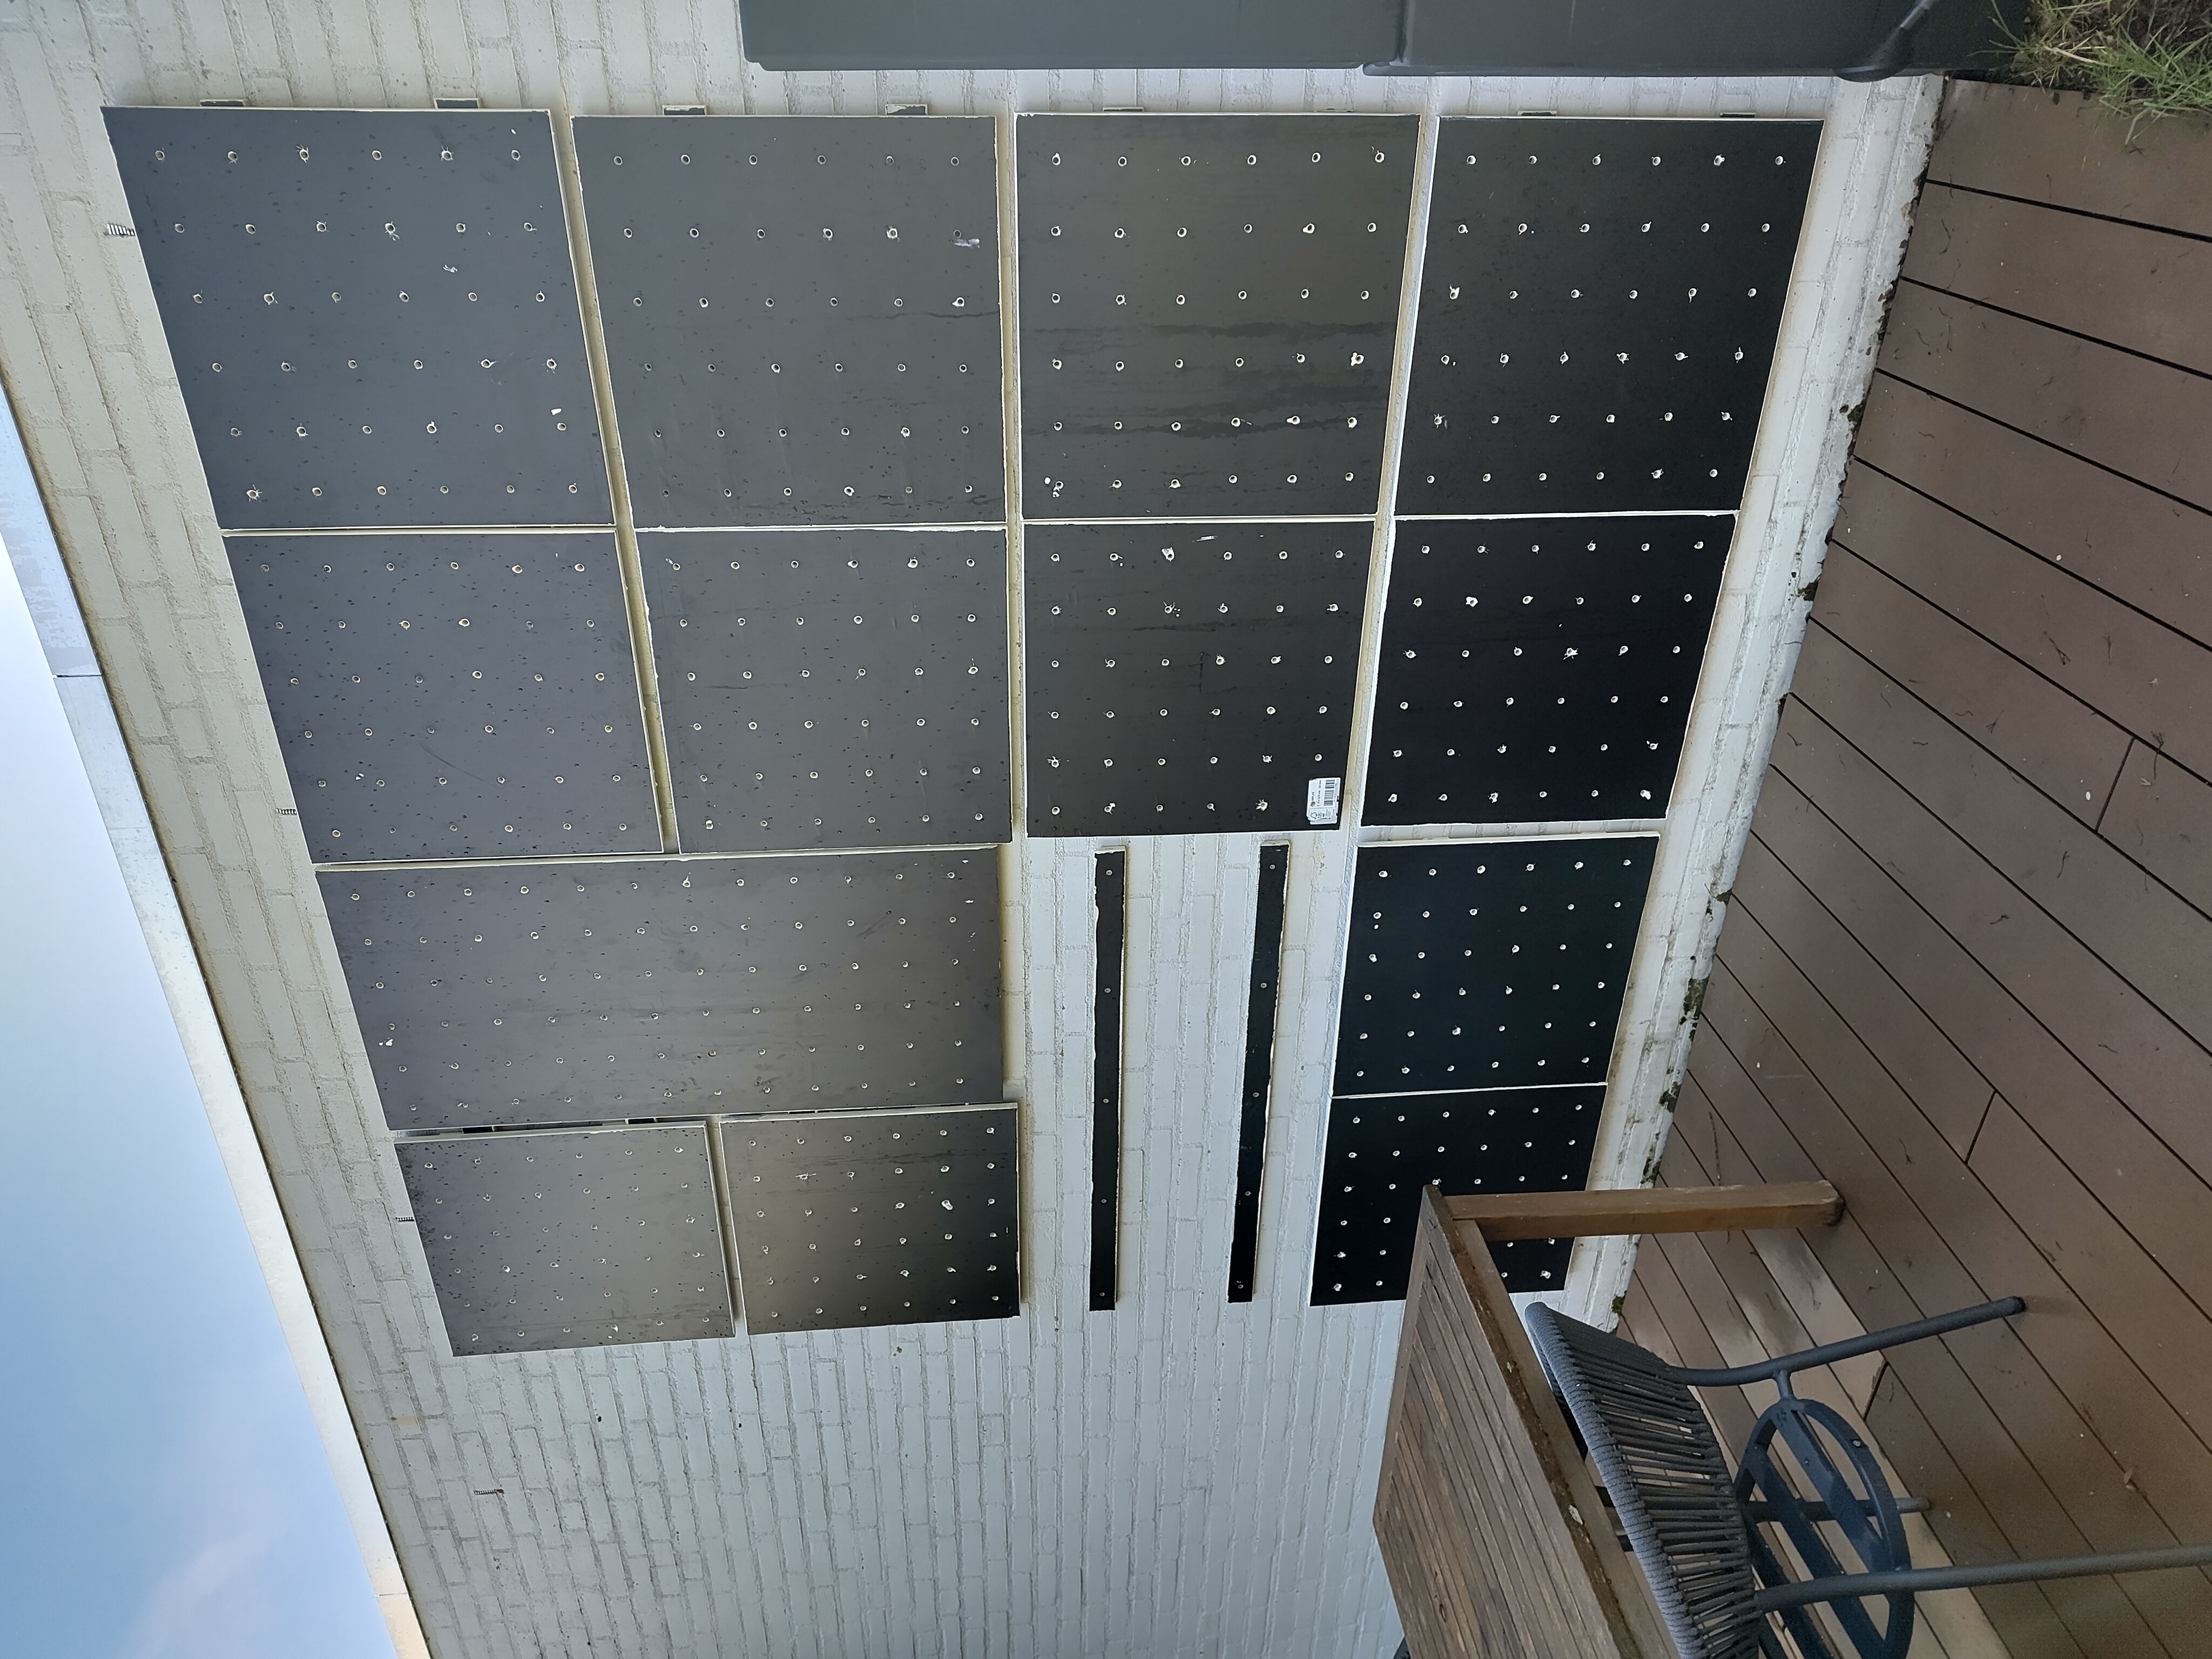 The white dots are the holes with the edge sealer, that didn't look too nice to had to go paint some 600 holes again. Maybe I should have spent even more money and got pre-made wall climbing panels etc. Time vs money. Oh well, the whole thing was costly enough already.
I also realized I made a smal mistake with the larger panel: I had one rectangular panel that I might convert to something with an overhang. But I forgot to account fot the gap between panels so it'sa bit shorter. Can't win them all.
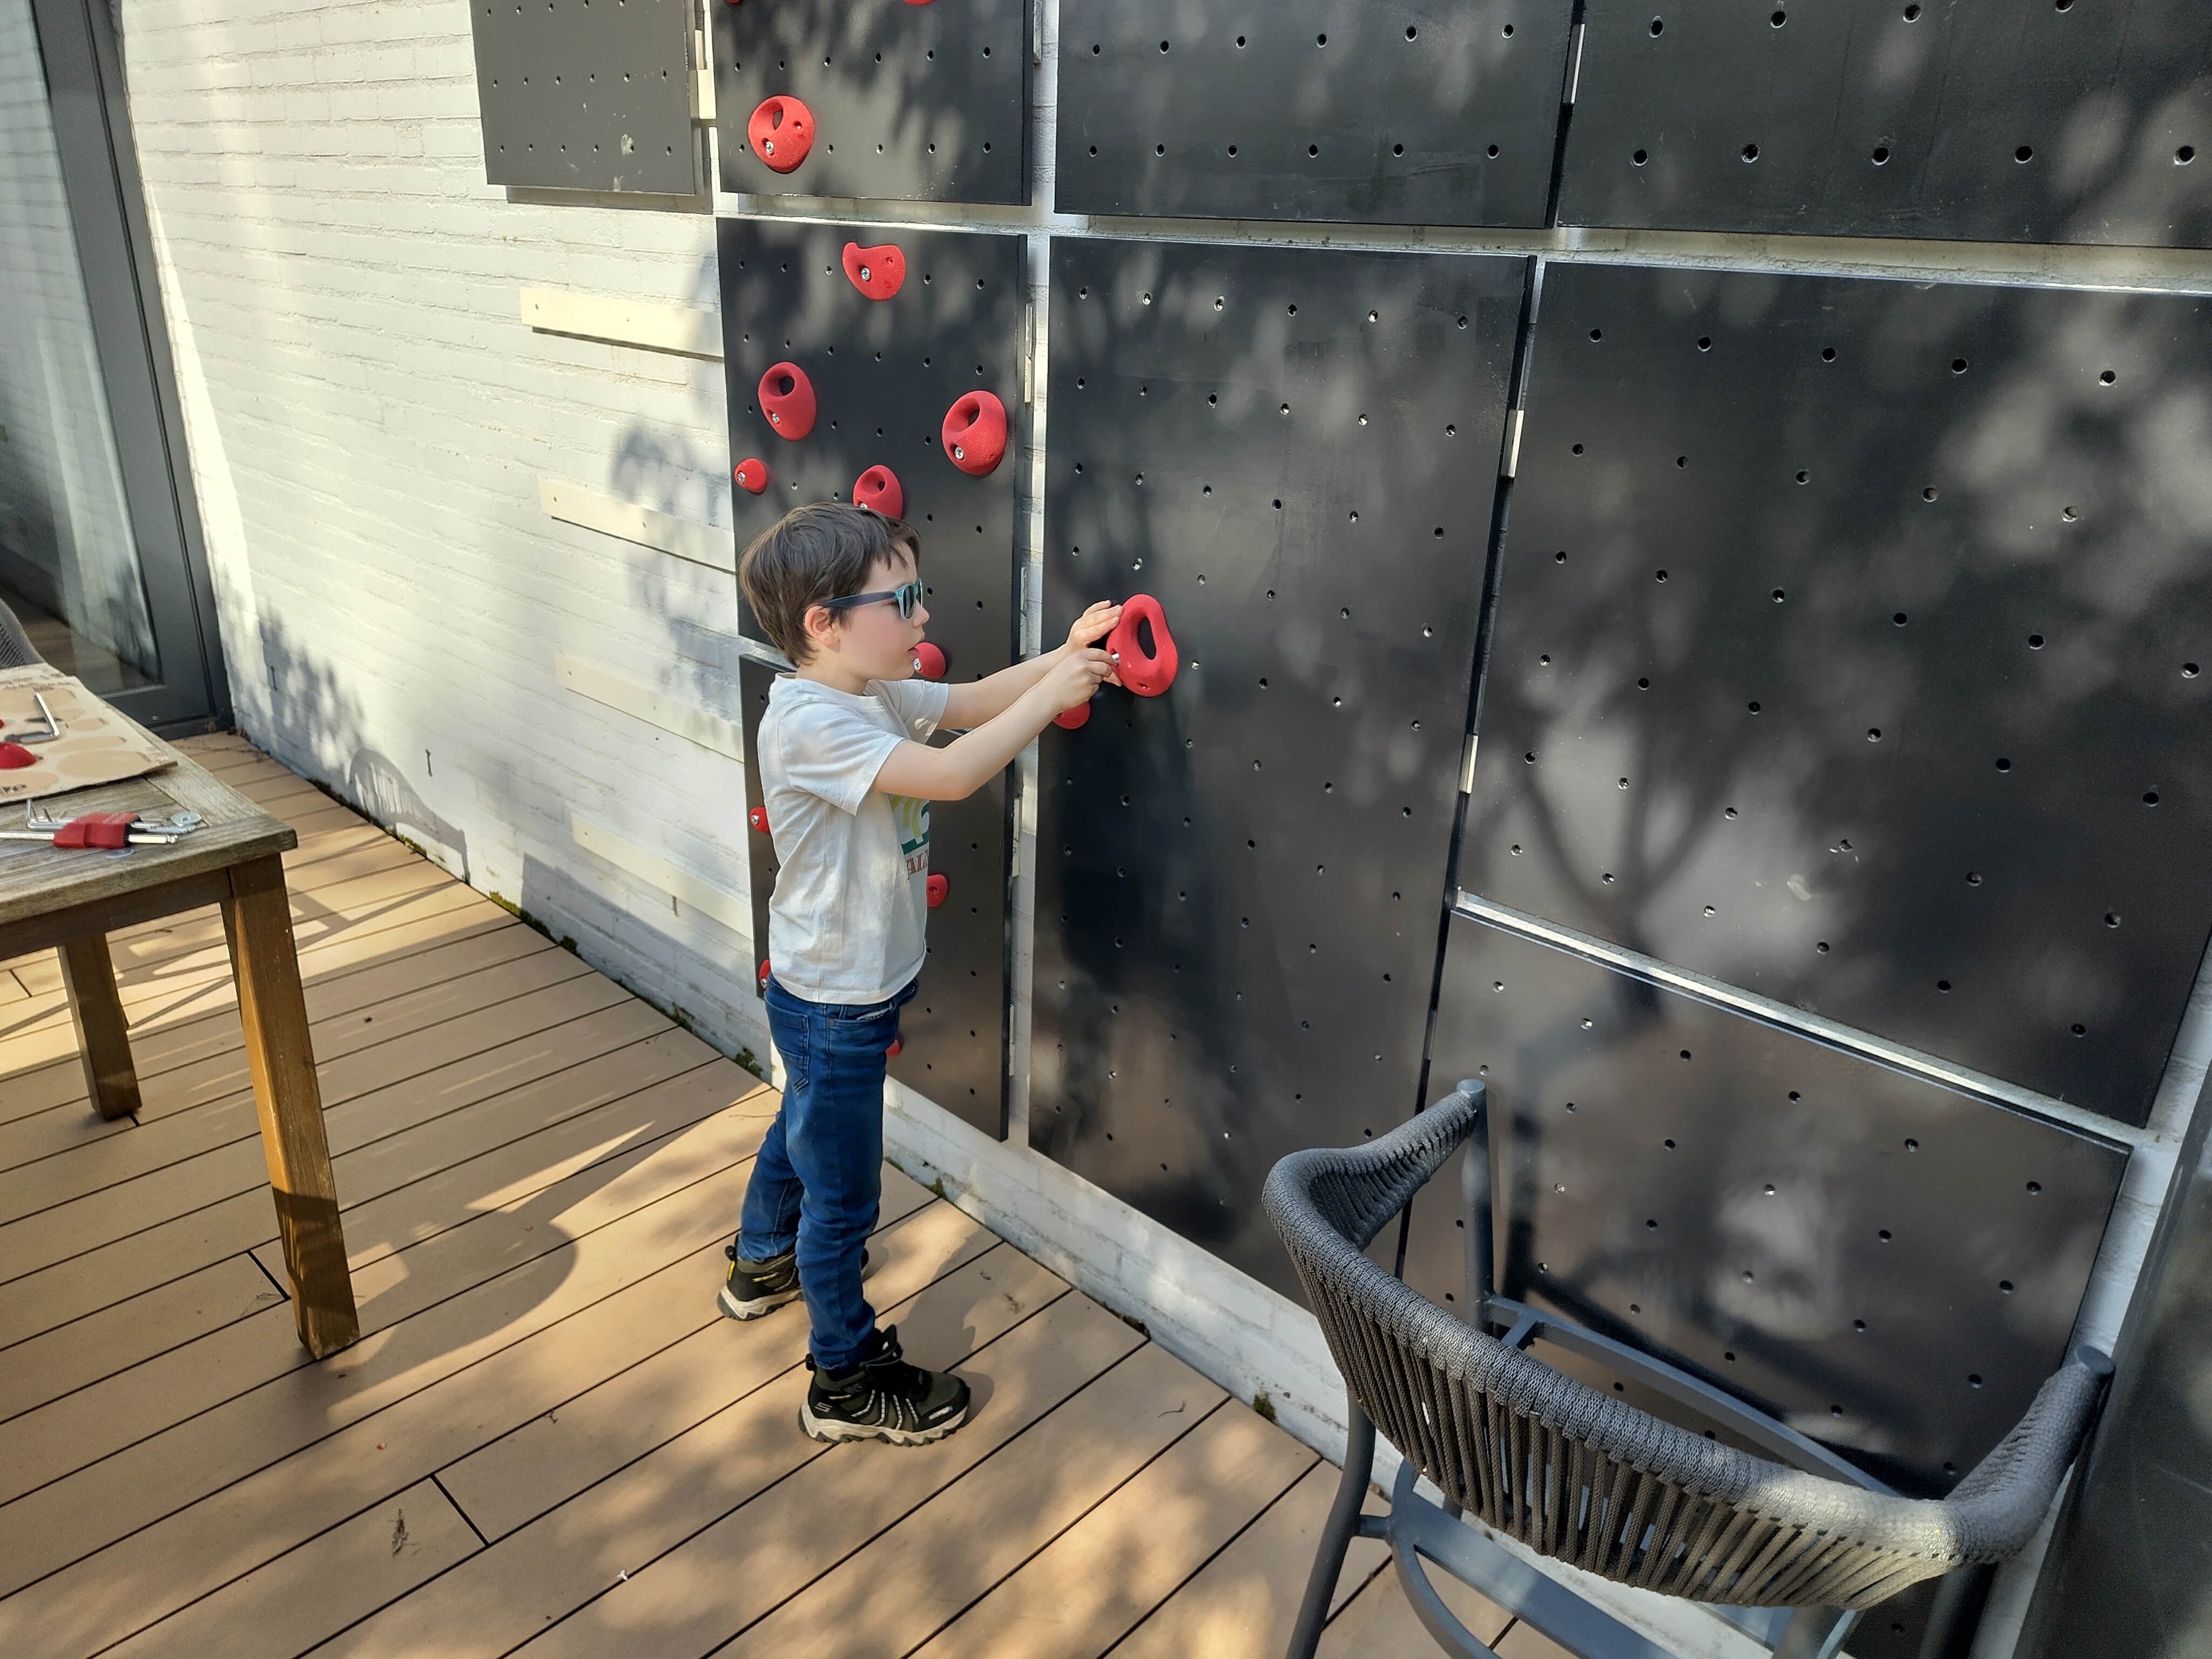
After painting the panels and all their holes in a consistent color, then at last it was time for the climbing holds. Fortunately, I had some help with that
To make things a bit more interesting, I also whipped up a small volume and added more holds, in different colors
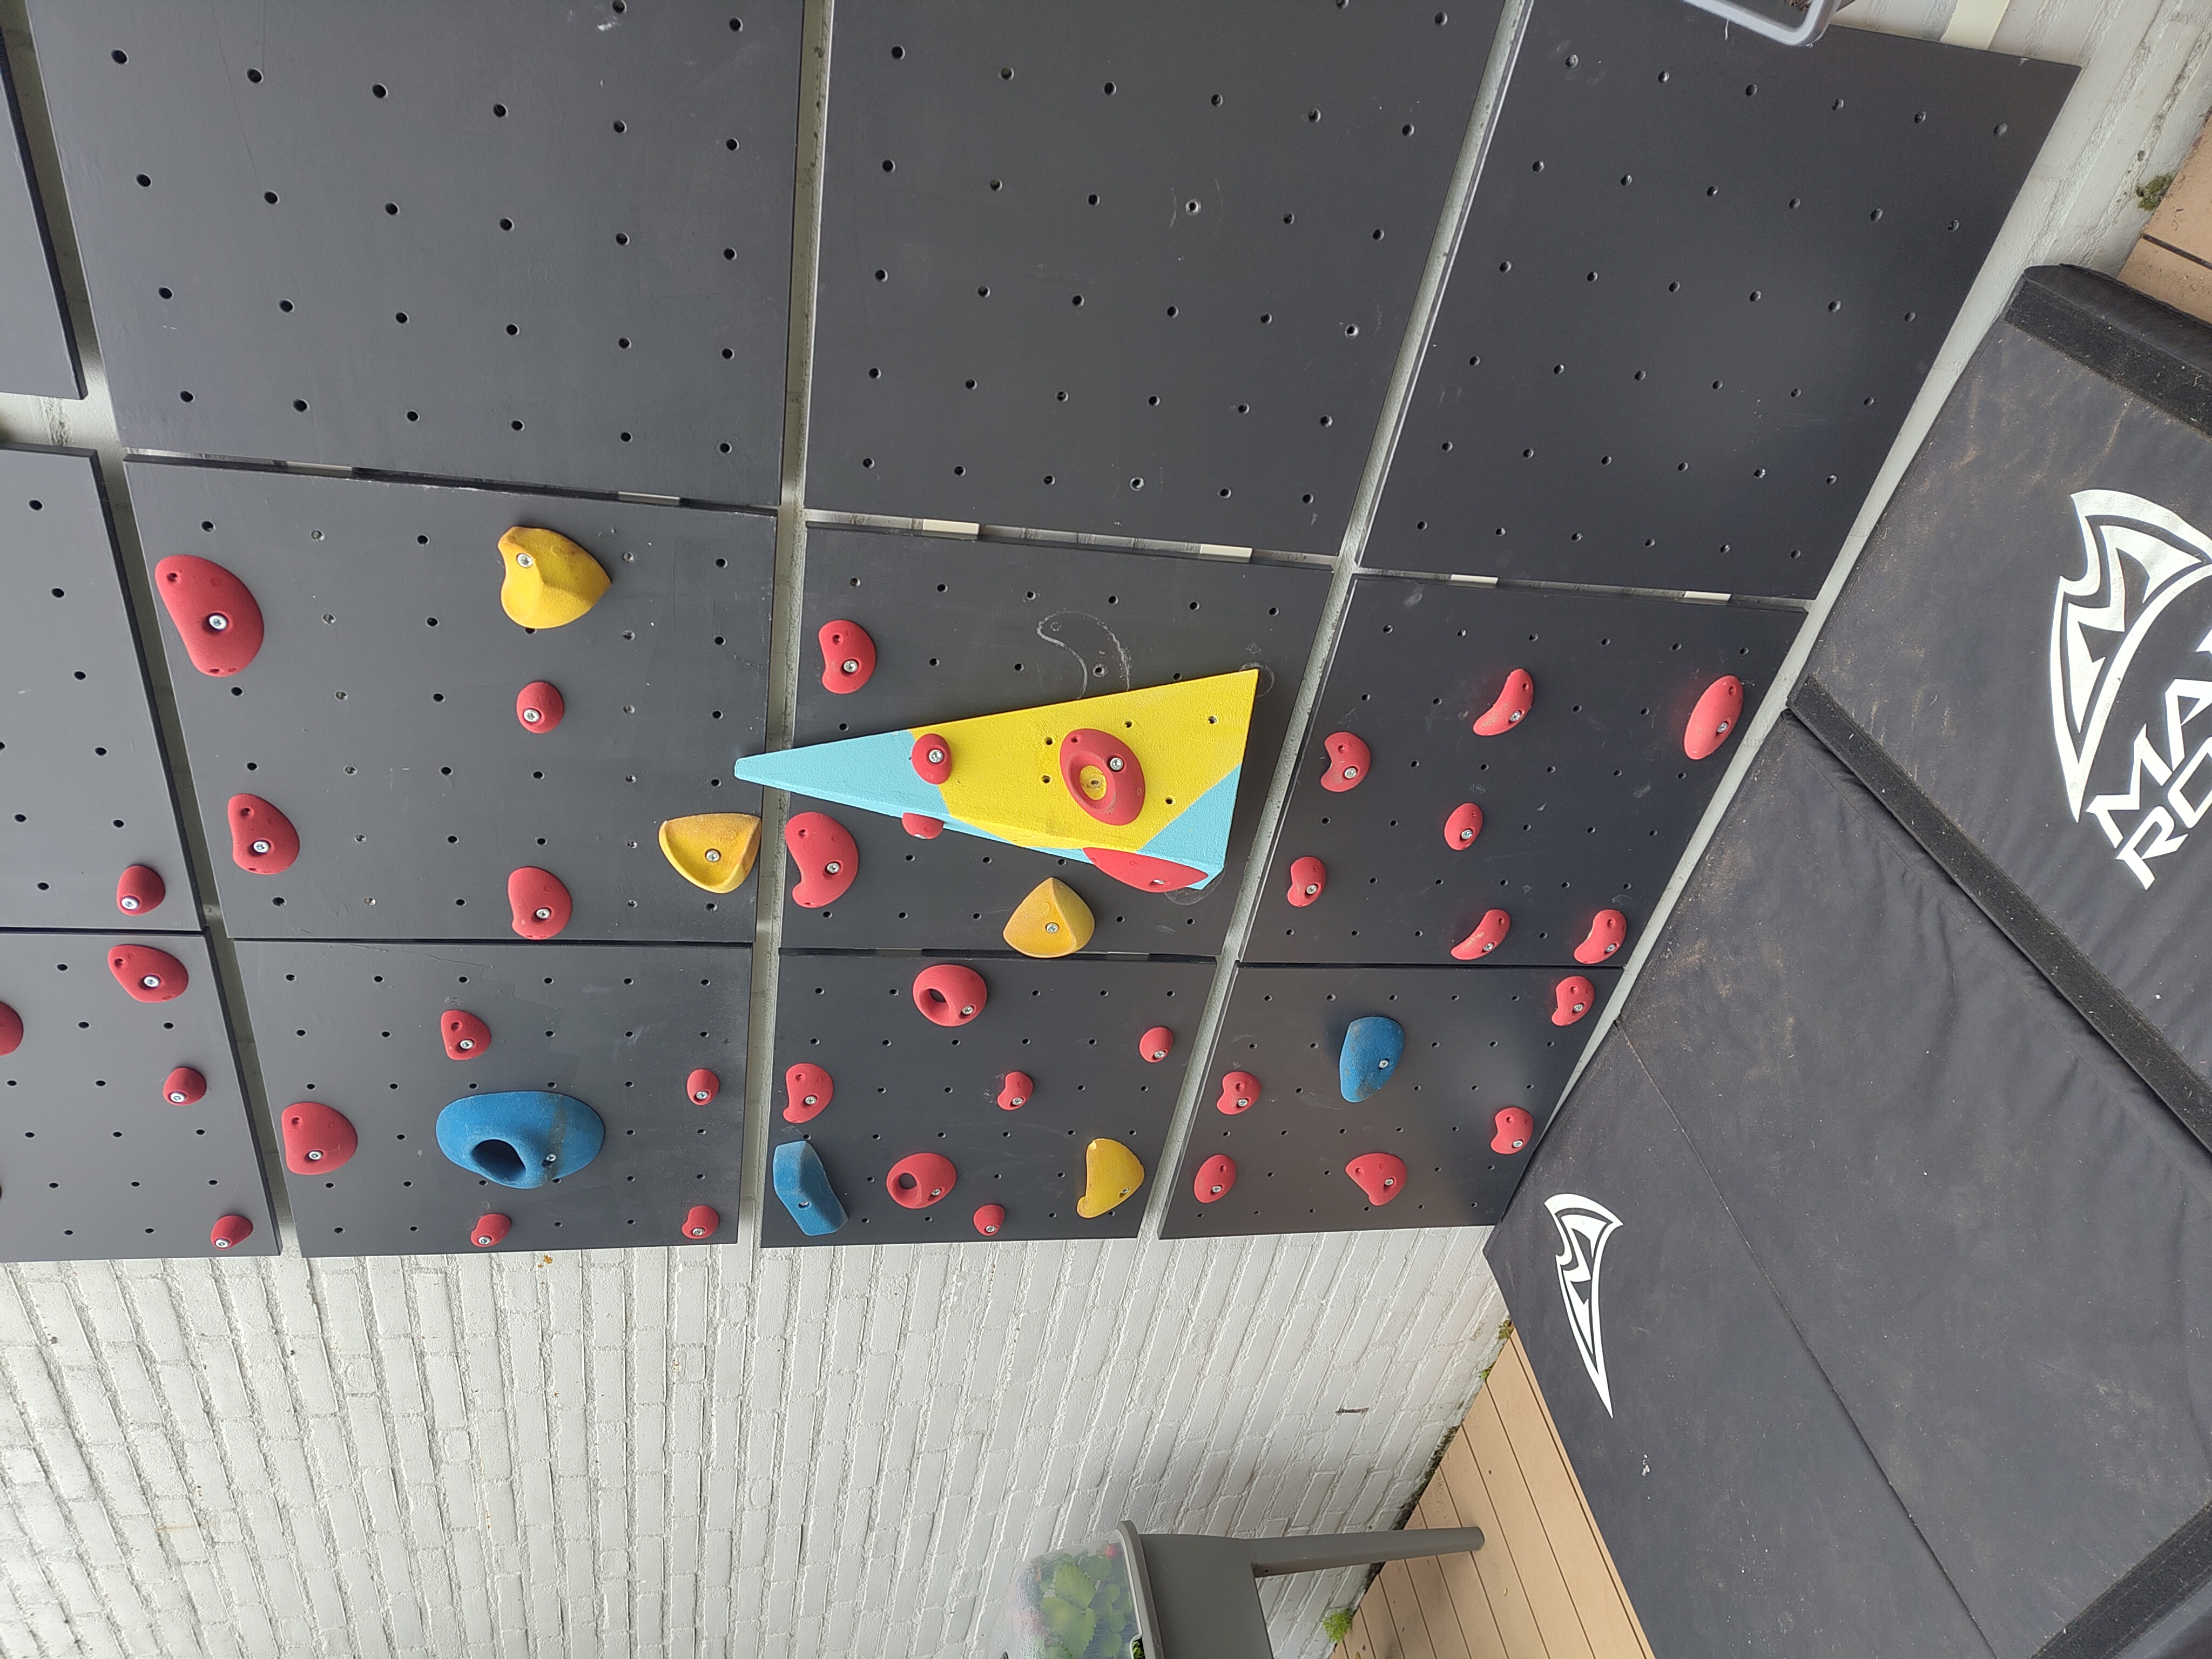
So far, that overhang is still to be made and a way to lock the panels in place so they can't come off the cleats when pulling up would be handy as well. There's always something to do next.